How to Fix and Prevent Ceramic Coating Failure for a Long-Lasting, Glossy Finish
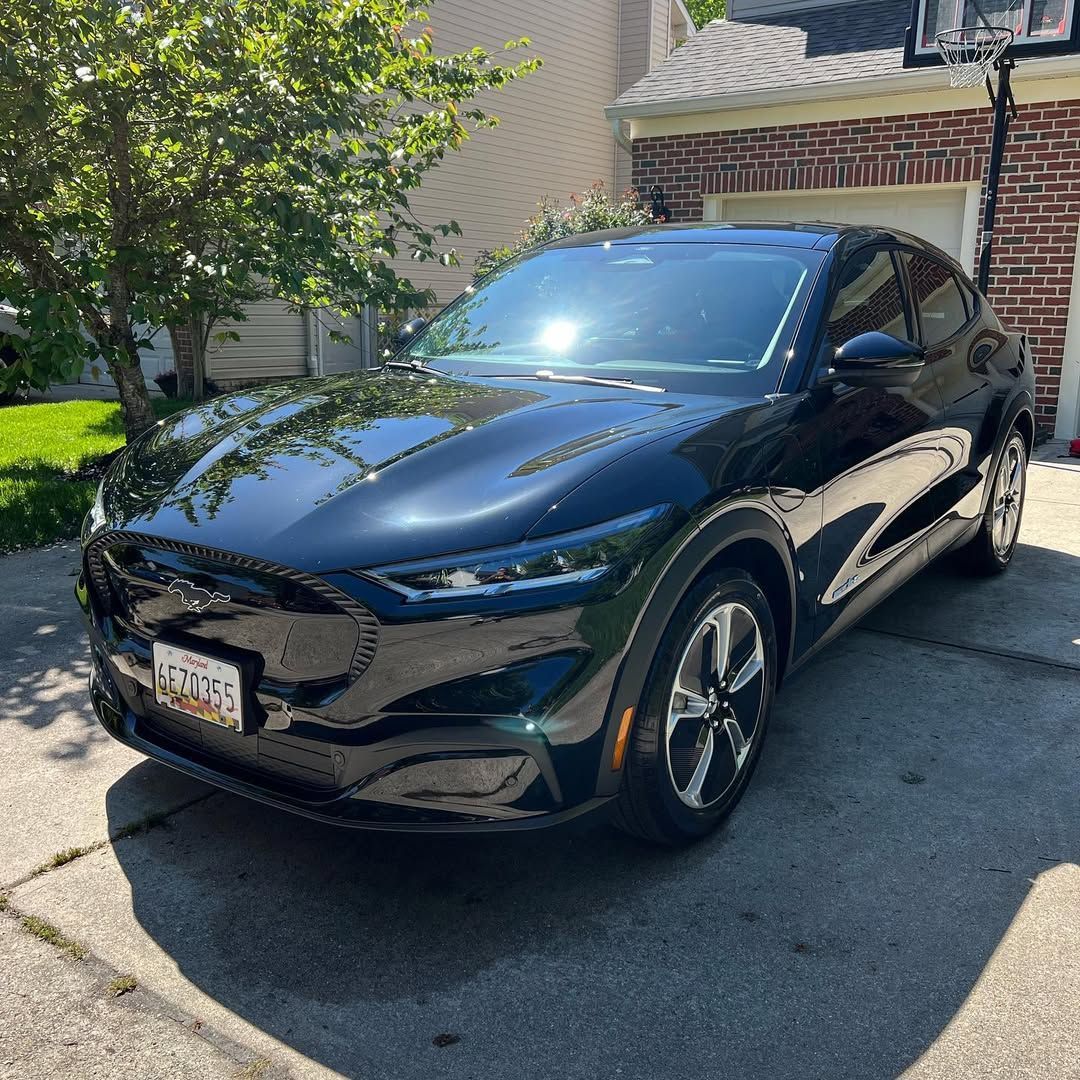
CALL (410) 946-7360 SCHEDULE ONLINECeramic coatings have become one of the most popular ways to protect a vehicle’s paint, enhance gloss, and create long-term resistance against the elements. But even with their advanced technology, ceramic coatings are not immune to problems. High spots, streaks, water spots, uneven gloss, and premature failure can all happen when the coating is not applied correctly or maintained properly. When issues occur, it can be frustrating to see flaws on a finish you invested time, effort, or money into. The good news is that most coating failures are avoidable, and many are fixable without starting from scratch.
Whether you are a DIY enthusiast, a new detailer, or a vehicle owner researching how to care for a coated car, this guide will help you understand what causes ceramic coating failure, how to fix it, and how to prevent it from happening again. This enhanced version goes deeper into technique, adds local relevance for drivers in Odenton, Bowie, and Annapolis, and provides clearer guidance backed by professional detailing practices.
Ceramic coatings are designed to last years—not months—but only when the application and maintenance are handled with precision. The following sections walk through everything you need to protect your investment and achieve results that stay glossy, hydrophobic, and durable.
Understanding the Early Signs of Ceramic Coating Failure
Recognizing the signs of coating failure early can save you a great deal of time and money. One of the most common symptoms is the appearance of high spots. These are glossy, uneven patches that stand out against the rest of the paint. When you glide your fingers gently across them, they may feel tacky instead of smooth. High spots happen when too much product is applied or when the surface isn’t leveled within the correct flash time. Missing these during application leads to hardened ridges that disrupt gloss and texture.
Another frequent issue is streaking. Streaks appear as dull lines or inconsistent patterns on the paint where the coating began to cure before it was wiped evenly. These streaks typically form due to wiping too late, working in sections that are too large, or applying the coating in unfavorable environmental conditions. Because ceramic coatings start bonding quickly, timing is everything. The flash time—the moment between application and leveling—must be respected to avoid uneven curing.
Water spotting is also a significant indicator of coating failure or improper after-care. In areas like Odenton, Bowie, and Annapolis, where hard water is common, mineral deposits can quickly accumulate if water is left to dry on the coated surface. Instead of sitting on top of the coating as beads should, these droplets evaporate and leave minerals behind. Over time, these mineral spots can etch into the coating, causing dull patches and reduced hydrophobic behavior.
The moment you notice inconsistent water beading, haziness, or patches that seem to lose shine, these are early warnings that your coating is beginning to fail or has weakened in specific areas. Addressing these signs immediately is the key to preventing long-term damage.
Why Surface Preparation Determines Your Results
No matter how expensive or high-quality a ceramic coating may be, it can only perform as well as the surface it bonds to. Proper preparation is the foundation of a durable, flawless coating. Skipping or rushing through these steps is one of the biggest causes of premature failure.
Preparing a vehicle for ceramic coating involves four critical stages. Each step ensures the coating adheres correctly and delivers the deep shine and protection most people expect.
Step 1: Thorough Washing
Start by washing the vehicle carefully using a pH-neutral automotive shampoo. This step removes dirt, oils, bug residue, brake dust, and general contaminants that sit on the surface. Harsh detergents or household cleaners should be avoided because they can strip existing protection or cause micro-scratching on sensitive paint surfaces.
During washing, pay special attention to areas around the wheels, rocker panels, bumpers, and door handles. These zones collect contaminants that may resist a basic wash. Rinse thoroughly and wash as many times as needed until the surface is clean and free of visible grime. This step creates a smooth foundation so the coating can bond properly.
Step 2: Decontamination
After washing, contaminants still remain embedded in the paint. This is where a clay bar or synthetic clay mitt comes into play. Clay removes microscopic particles such as tree sap, industrial fallout, rail dust, and overspray that normal washing cannot touch. When the surface feels perfectly smooth to the touch, you know decontamination has been successful.
If this step is skipped, the ceramic coating may bond to contaminants instead of paint, leading to patchy adhesion and early failure. This is one of the most common reasons why DIY ceramic coatings do not last as long as expected.
Step 3: Drying and Inspection
Dry the vehicle thoroughly with clean, high-quality microfiber towels. Water left behind can create streaks or water spots under the coating, becoming permanent once the ceramic layer is applied. After drying, inspect the entire vehicle under bright, diffused lighting. This type of lighting makes swirl marks and imperfections easier to see than standard garage lights.
Look for leftover residue, missed clay spots, or any blemishes in the clear coat. This visual inspection prevents small issues from turning into major defects after the coating locks in place.
Step 4: Polishing the Surface
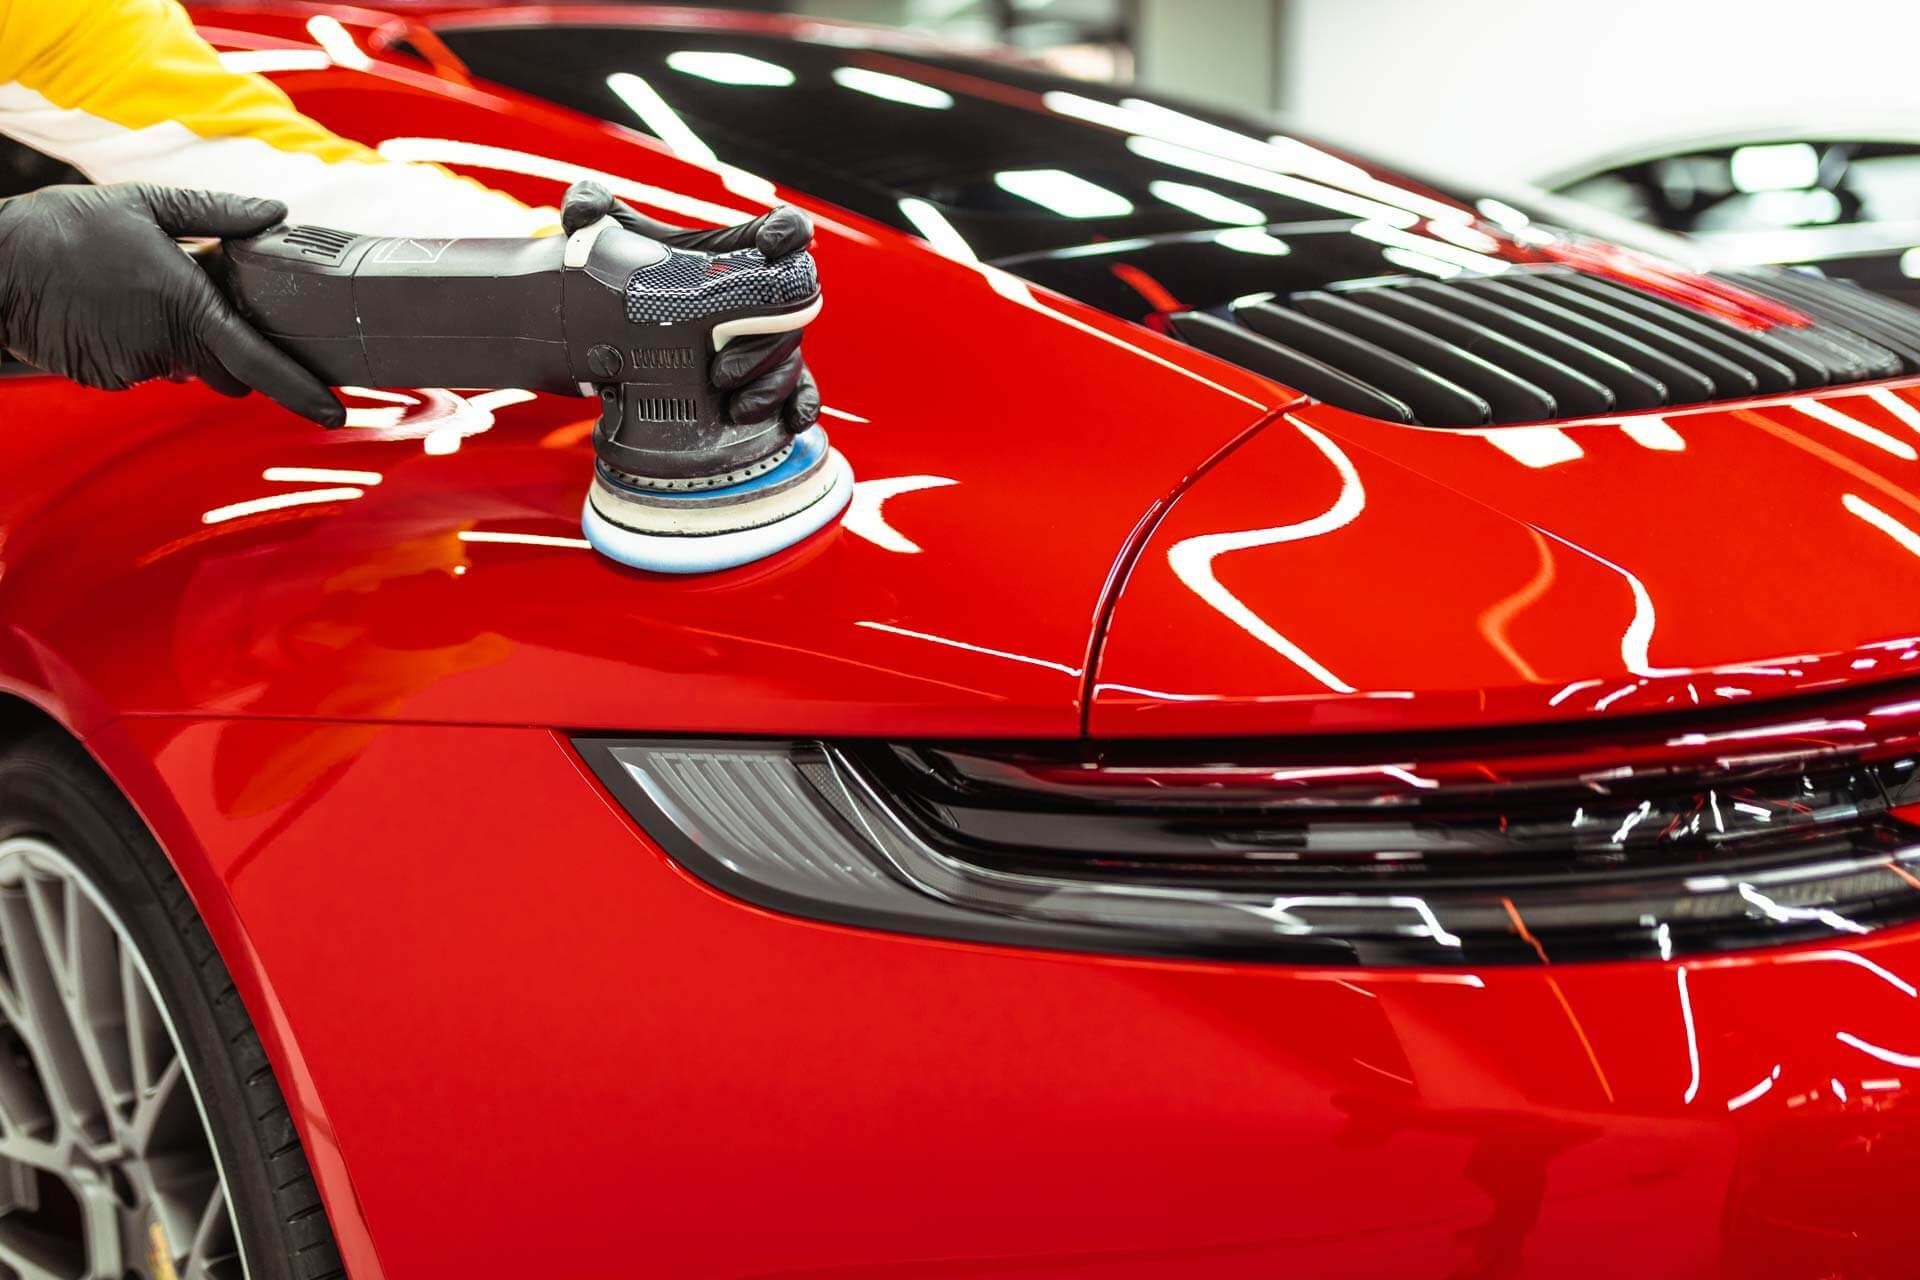
Polishing is essential for achieving maximum gloss and long-term durability. Using a dual-action polisher with the appropriate pads and compounds, you can correct swirl marks, oxidation, and minor scratches. Polishing improves the clarity and depth of the paint while providing a flawless surface for the coating to bond to.
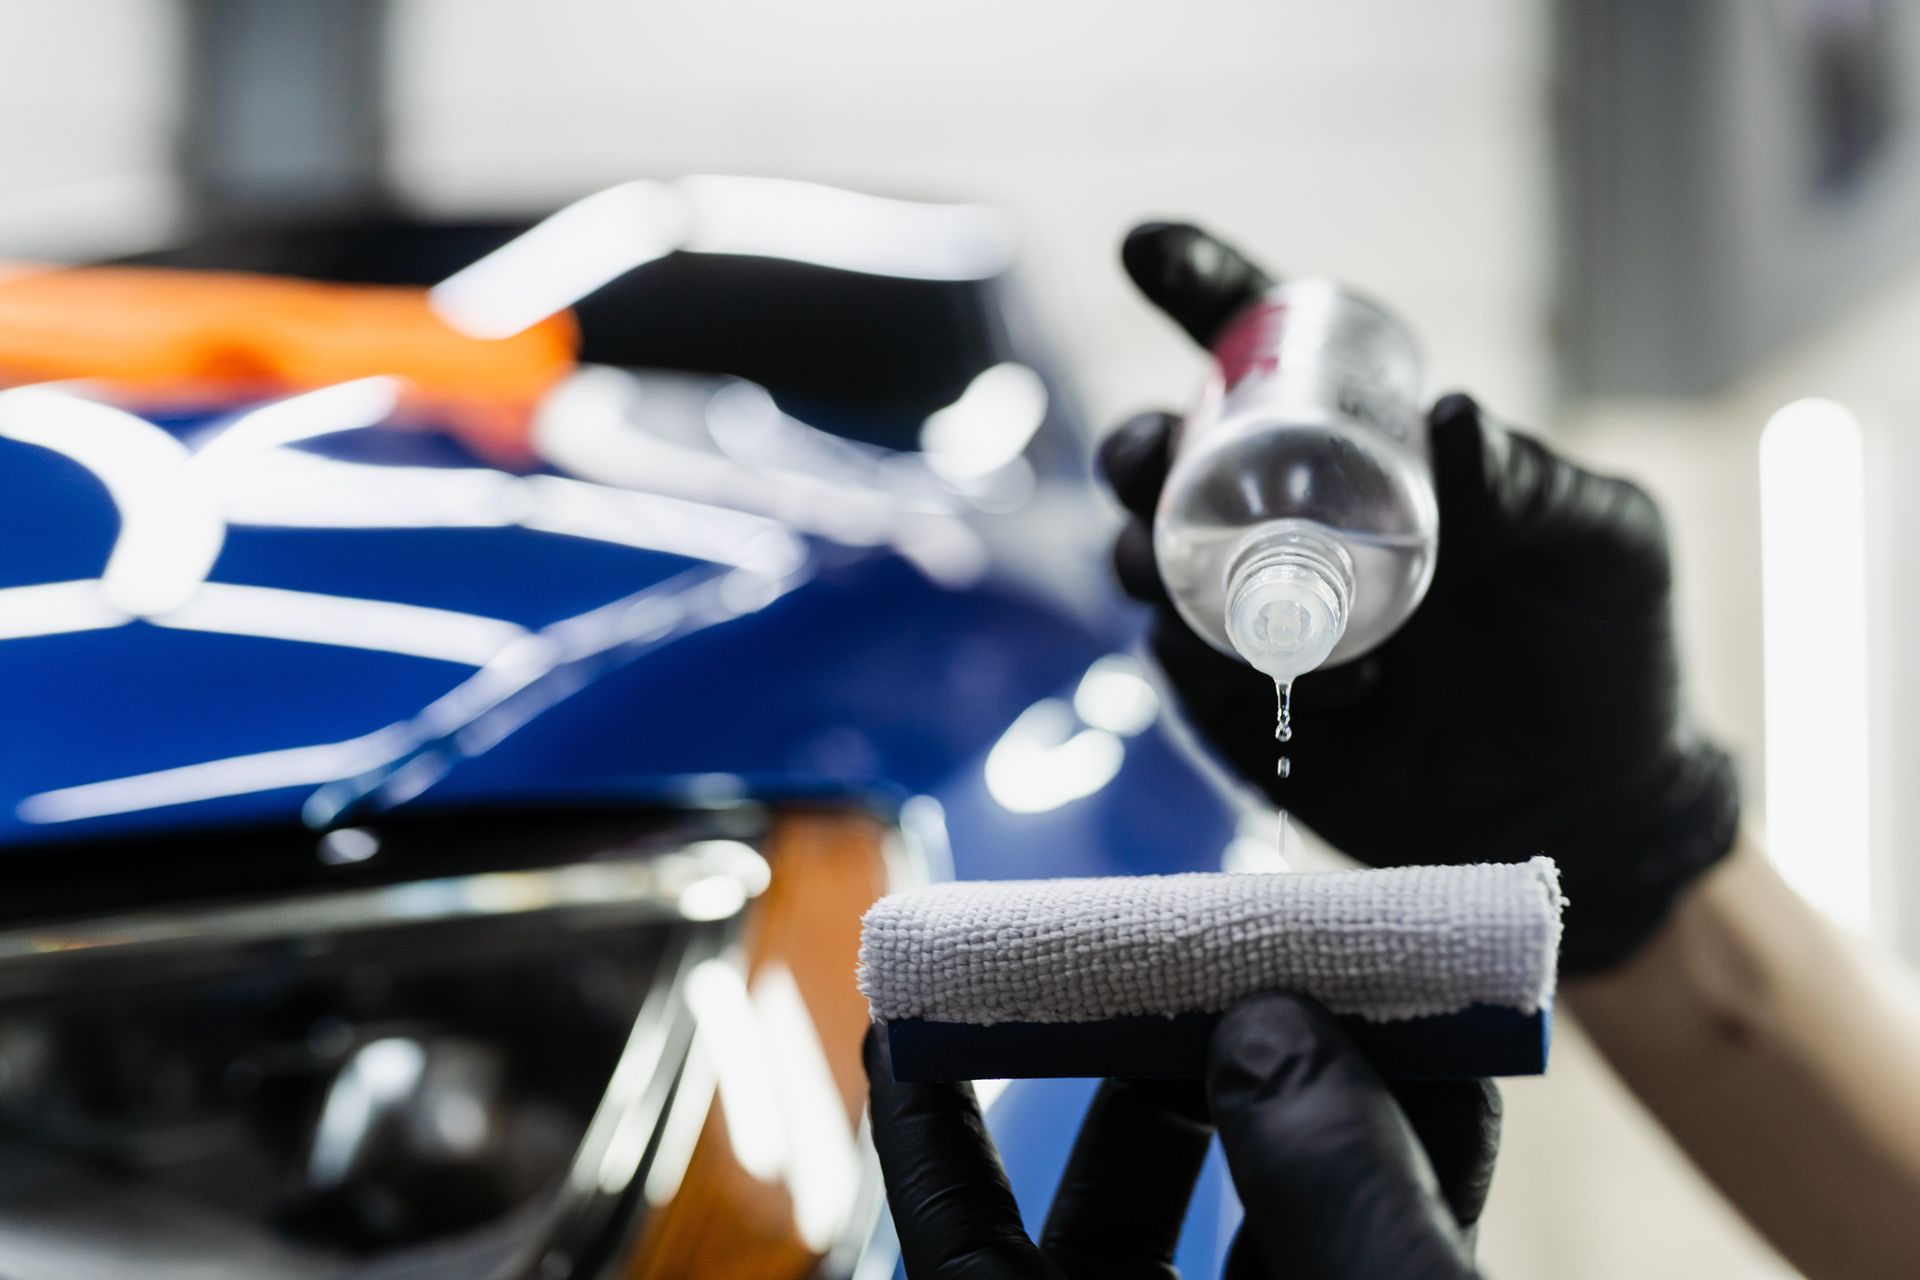
Aggressive polishing should be used cautiously, especially on older or repainted vehicles. The goal is to refine and enhance the surface, not remove excessive layers of clear coat. Once polished, wipe the surface with an isopropyl alcohol solution to remove polishing oils so nothing interferes with the coating bond.
How to Apply Ceramic Coating Correctly
Applying a ceramic coating requires patience, precision, and attention to detail. Even small mistakes can result in high spots, streaks, or uneven coverage. Whether you are applying the coating yourself or understanding how professionals achieve consistent results, these principles remain the same.
Always work in small sections, typically 2-by-2 feet. This size allows you to maintain tight control over the flash time and leveling process. When you work in sections that are too large, you risk missing areas, wiping too late, or letting the coating sit long enough to harden before being leveled.
After applying the coating to a section, pay close attention to the rainbow effect or flashing pattern, which indicates that it is time to level. Using a clean, high-quality microfiber towel, gently wipe in small circular motions. Circular motions ensure even distribution and reduce the risk of straight-line streaks. Follow this with a secondary towel to ensure the area is completely leveled.
Environmental conditions matter more than most people realize. In Maryland’s humid summers, coatings may flash faster than expected. Warm garages or direct heat can shorten flash times dramatically. Cooler, drier environments provide more working time but may require additional patience. If possible, apply ceramic coatings in a temperature-controlled garage between 65 and 75 degrees Fahrenheit.
Avoiding the Most Common Application Mistakes
Several common mistakes lead to coating failure. Using the wrong towels is one of the most frequent issues. Low-quality microfiber or suede cloths can trap excess product, apply uneven pressure, or leave behind lint. High-quality towels specifically designed for ceramic coating leveling are essential.
Lighting is another overlooked factor. Working in dim lighting or under harsh fluorescent lights makes it difficult to see streaks or high spots. Professionals often use daylight-balanced LED lights because they reveal surface inconsistencies immediately.
Rushing through the application is another major issue. Ceramic coatings are not a product you can apply quickly and hope for the best. They require calm, methodical attention. Wiping too soon or too late can permanently affect the appearance and durability of the coating. Allow yourself enough time so you are never forced to rush through any step.
Fixing Ceramic Coating Failure After It Happens
If a coating fails or shows imperfections, most problems can be fixed without removing the entire coating. The key is identifying the issue and addressing it at the right stage.
High spots within the first 24 hours can often be corrected chemically. A diluted isopropyl alcohol and deionized water solution can soften partially cured coating, allowing you to reapply product and level the area properly. If the coating has already cured past this window, mechanical polishing may be necessary.
Polishing with a fine finishing polish and a microfiber pad can remove localized defects without stripping the entire layer. This requires a gentle touch, as overpolishing can remove too much coating. Once the defect is corrected, the area should be wiped thoroughly and recoated.
For widespread issues across the entire vehicle, a full correction and reapplication may be required. After polishing the coating away, follow the same preparation process and reapply using small, controlled sections.
Long-Term Care for a Strong, Durable Ceramic Coating
Maintaining a ceramic coating is just as important as applying it correctly. Regular washing using pH-neutral soap and soft microfiber mitts is essential. Avoid automatic car washes, as their brushes and harsh chemicals can dull the coating or weaken its hydrophobic properties.
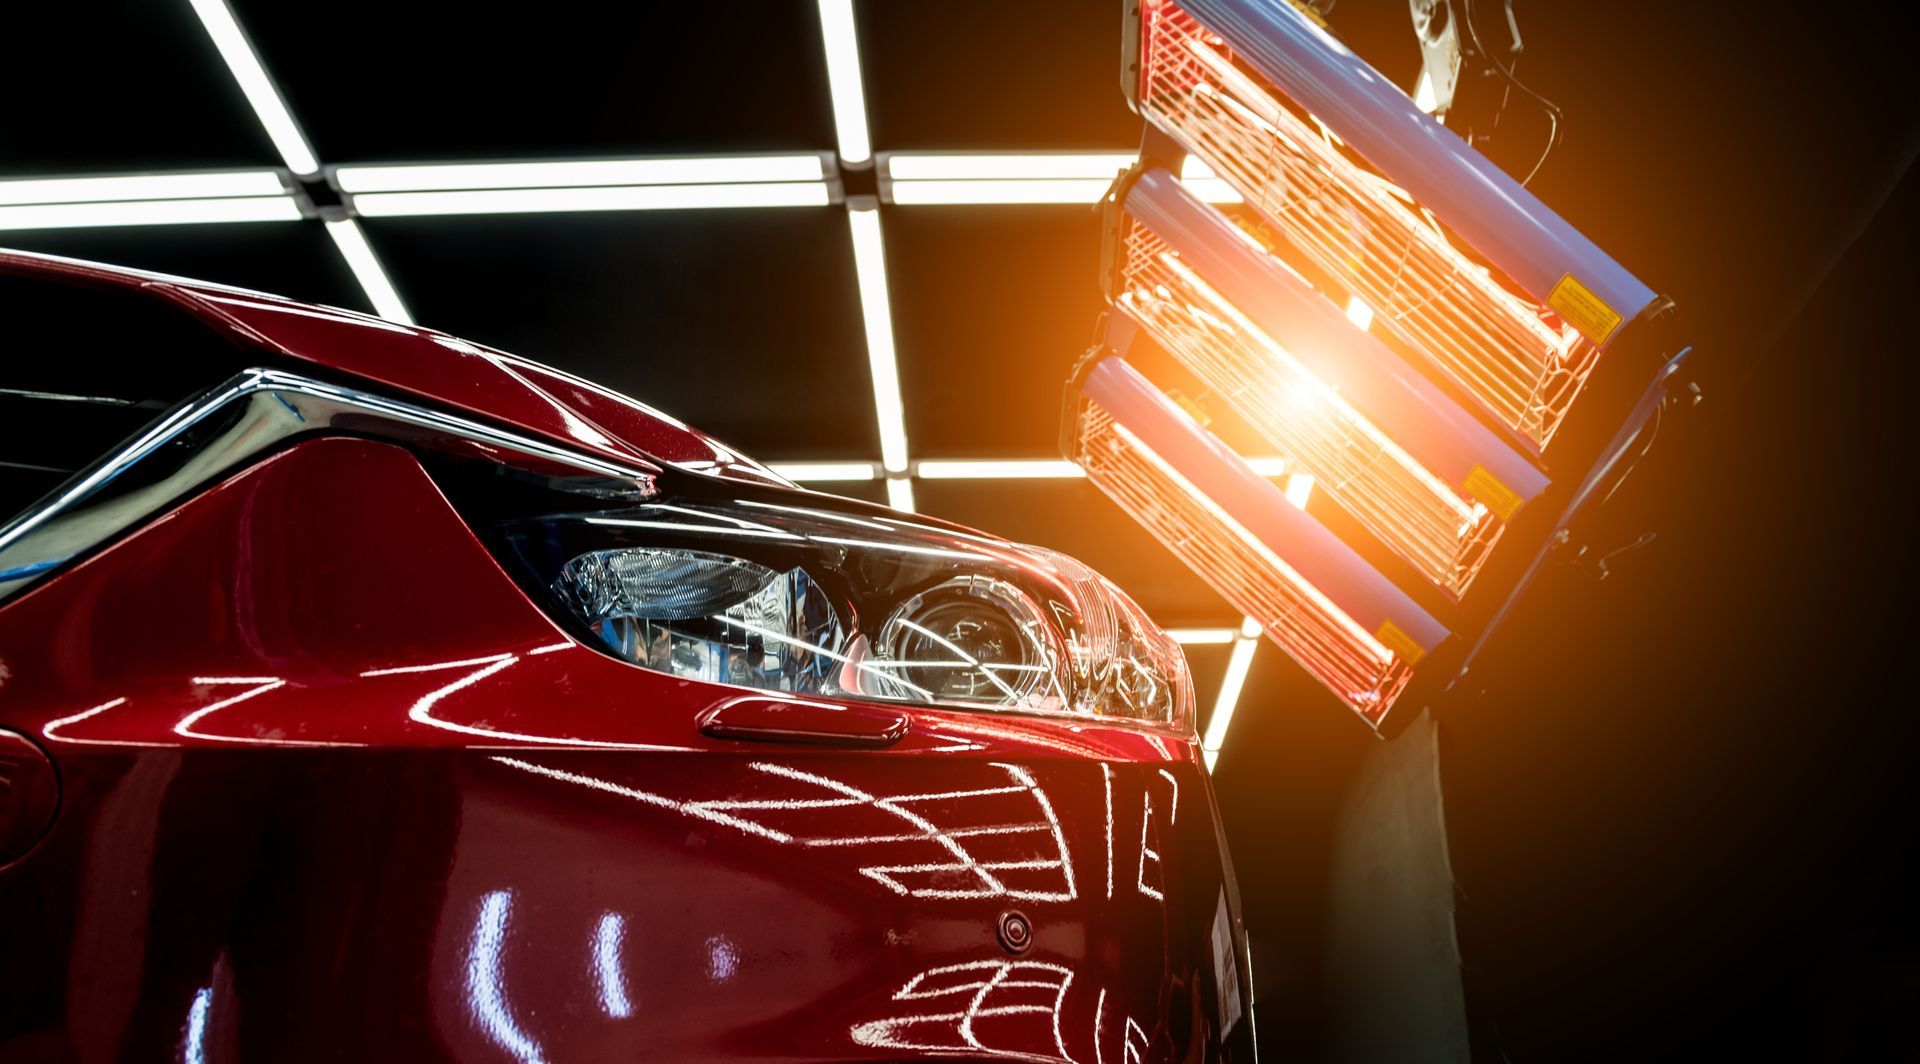
Infrared curing is another valuable method for strengthening the coating. Professional detailers often use IR lamps during installation because they help accelerate chemical bonding and create a harder, more durable finish. Some enthusiasts also use portable IR lamps for periodic maintenance.
Adding a maintenance sealant over the ceramic coating can also extend its lifespan. These sealants add a supplementary layer of protection and can refresh hydrophobic behavior between washes. Maintenance sprays formulated for coated vehicles are excellent for quick upkeep and provide additional shine and slickness.
Scheduling periodic inspections with a professional detailer is beneficial. They can identify early warning signs, correct minor issues before they worsen, and help you maintain the coating for years instead of months.
Protecting Your Vehicle with Professional Expertise in Maryland
Ceramic coatings offer exceptional protection and long-lasting beauty when applied and maintained correctly. Drivers in Odenton, Bowie, and Annapolis experience weather conditions such as road salt, humidity, bird droppings, and hard water—factors that make ceramic coating maintenance especially important. Professional detailing ensures the coating is applied in the right environment and cared for the right way, giving you a finish that stays bright, glossy, and easy to clean.
If your ceramic coating has failed or needs expert correction, or if you want flawless, professional-grade ceramic coating installation, Quality Mobile Detailing provides specialized services designed to restore and protect your vehicle. From paint correction to long-term maintenance, experienced detailers ensure your vehicle continues to look its best.
To schedule ceramic coating services or receive personalized recommendations for your vehicle, call (410) 946-7360 or visit
qualitymobiledetailingllc.com/contact-us. Investing in professional care protects your vehicle’s appearance and ensures your ceramic coating delivers the shine, durability, and ease of cleaning you expect for years to come.